 Back to INTELLLEX
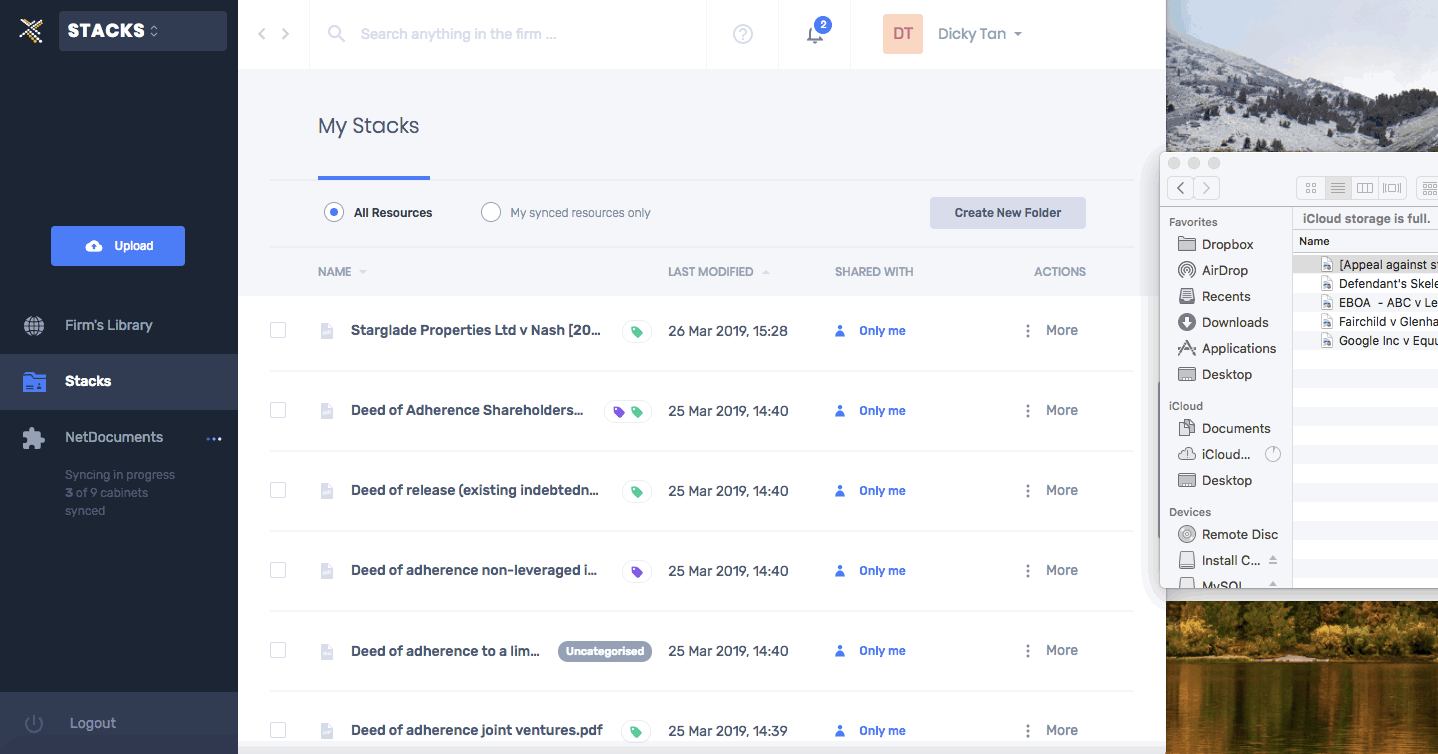
Sync Folders
INTELLLEX SYNC is a productivity tool that mirrors your files on your computer to your INTELLLEX account. Once installed, it runs in the background of your desktop, syncing your files in real-time whenever changes are made to them on your computer. This saves you the effort of manually uploading files onto INTELLLEX.
Once the sync is completed, your files on INTELLLEX will enjoy the benefits of being text-searchable, organised according to their legal topic and document type, and accessible anywhere as long as you are connected to the internet.
-
Click on ‘INTELLLEX SYNC’, which should appear as an icon on your desktop or taskbar (typically at the bottom of your screen).
-
Click on the ‘Tool’ icon, and select ‘Sync a new folder’.
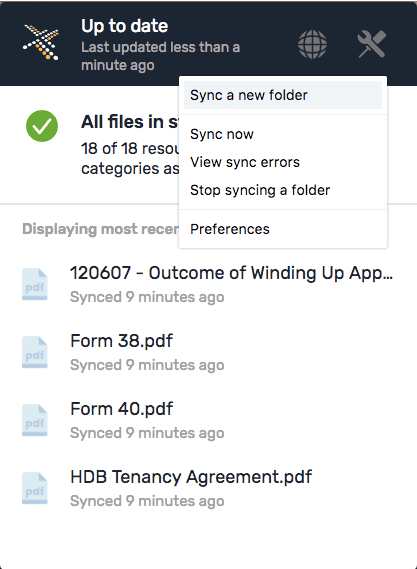
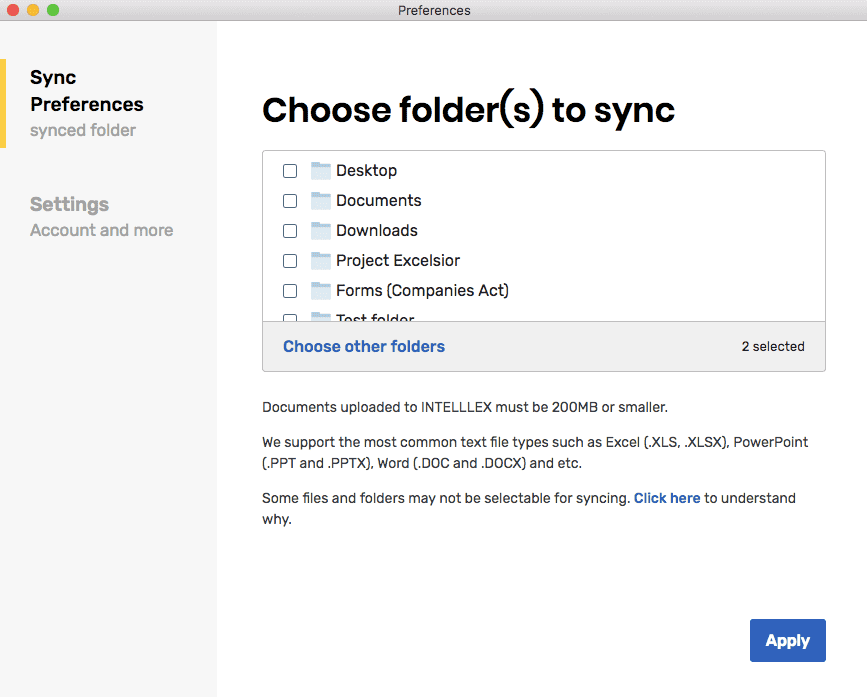
- It will bring you to the Preferences page where you may select a listed folder in the viewing panel or choose other folders on your computer.
-
After you have selected your folders to sync, click on ‘Apply’ to start syncing.
-
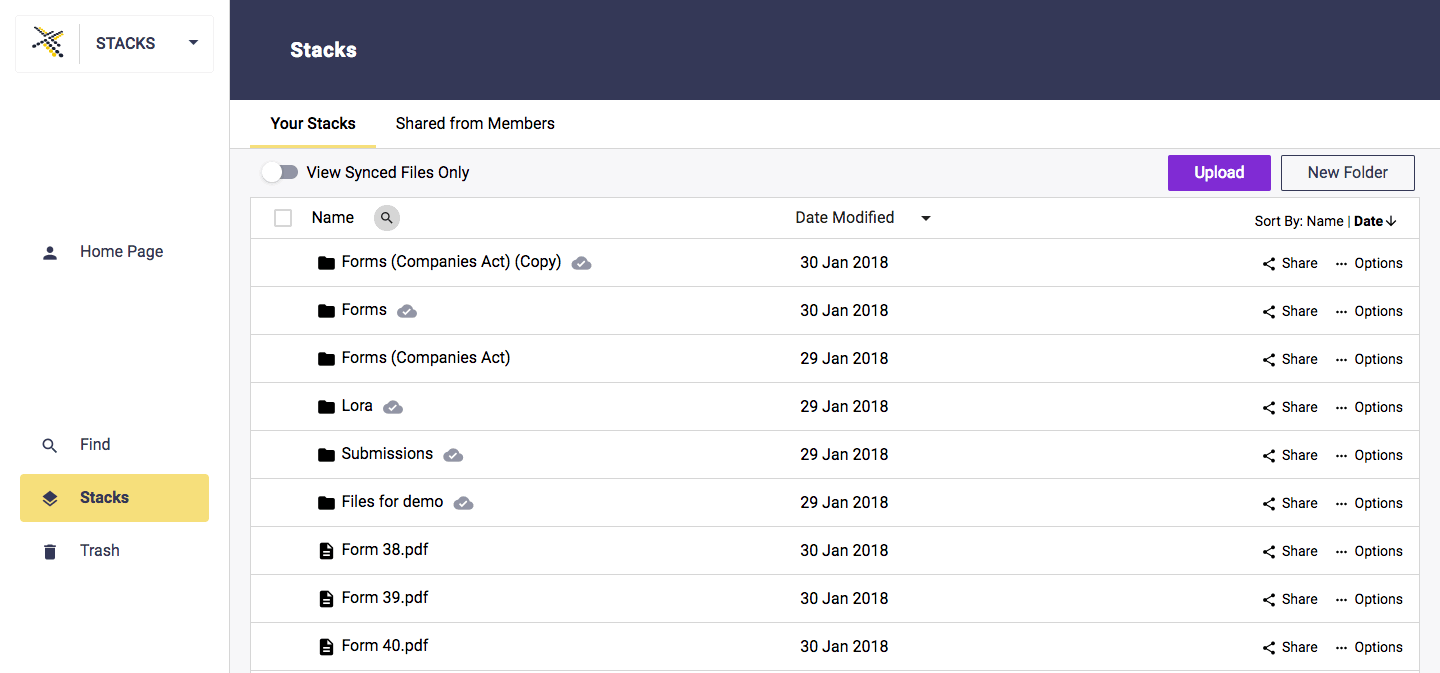
You will receive a notification upon the completion of the syncing process. Click on the Globe icon, to access your synced files on the INTELLLEX web application.

- Click on the toggle button to switch between ‘Synced Files Only’ and ‘All Assets’.
Delete a Synced Folder or File
If you delete a file or folder in your local selected directory, the action will be mirrored on your INTELLLEX account.
However, if you delete a file or folder on your INTELLLEX account, the original file or folder on your local computer will not be affected.
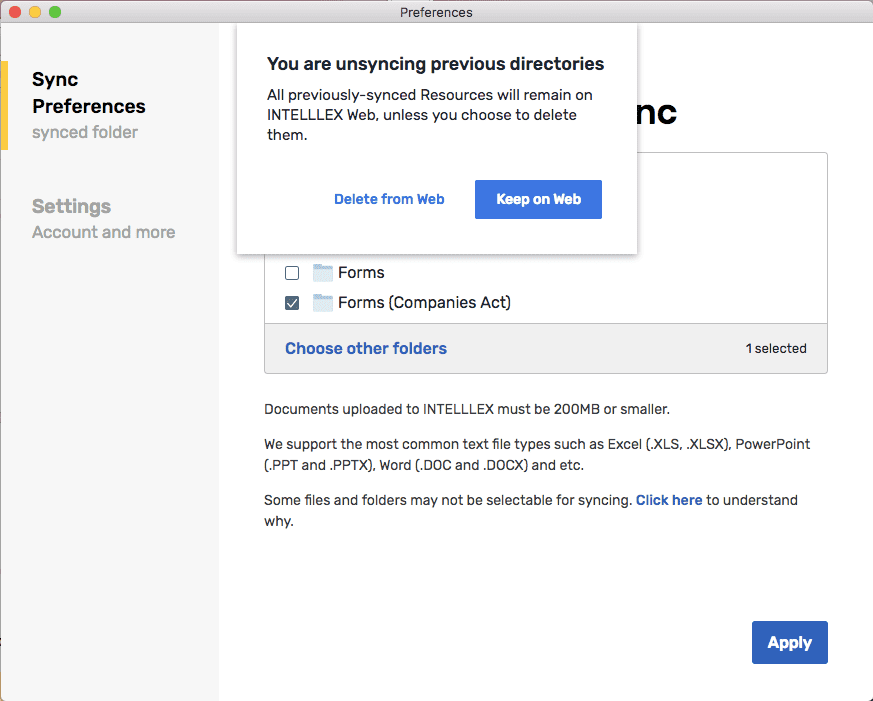
Un-Sync Your Folder
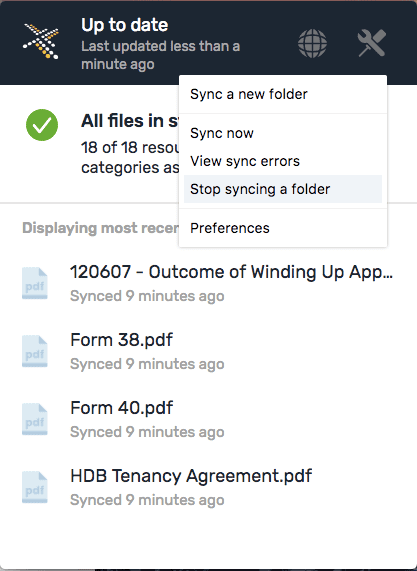
- Click on the ‘Tool’ icon on the top panel of INTELLLEX SYNC, and select ‘Stop Syncing a Folder’.
-
On the Preferences page, uncheck the folder(s) you wish to stop syncing and click ‘Apply’.
-
A pop-up will appear to check if you would like to keep or delete the folder and its files from the INTELLLEX web application after un-syncing the folder. Keeping them on INTELLLEX means that you will still be able to search through the file and folders, but they will cease to be updated on INTELLLEX when they are modified on your computer.
Upload Folders and Files
There are 2 ways to upload documents on STACKS.
Drag and drop the files or a folder to 'Stacks'
-
On the ‘Stacks’ section, select your files or a folder (not multiple folders) from Finder in Mac or the 'Documents' folder on Windows.
-
Drag and drop them to the INTELLLEX page window to upload them.
-
Click on ‘Details’ to see the files which have been successfully uploaded and categorised.
Use the Upload button
-
On the 'Stacks' section, click on the blue ‘Upload’ button.
-
A pop-up window will appear and prompt you to select files or a folder (not multiple folders) for upload. Clicking either option will bring you to Finder in Mac or ‘Documents’ folder on Windows.
-
Click on ‘Details’ to see the files which have been successfully uploaded and categorised.

Upload Multiple Sub-folders
When you drag and drop a folder with multiple sub-level folders within, the folder hierarchy and files under each folder will be replicated.
For example, if you have a folder named “Companies” that has the sub-folders “Waivers” and “Directors”, all files uploaded will be organised into their respective folders on INTELLLEX.
Supported File Types
We support the following file types.
-
Microsoft files:
- Word: .DOC, .DOCX and .DOT
- Excel: .XLS and .XLSX
- Powerpoint: .PPTX
-
Portable Document Format: .PDF
-
General file types:
- .CSV
- Text and rich-text files: .TXT, .TEXT, .RTF
- HTML files: .HTM. .HTML
- Open Office files: .ODM, .ODP, .ODS, .ODT, .OTH, .OTP, .OTS and .OTT